

Design your first template
In about 15 minutes you’ll design a conference name badge: a photo, a name and a role. The name, role and photo will be fields, the parts each generated badge fills with its own values. At the end you’ll publish the template, so it can be rendered through the API in the next tutorial.
Before you start
Section titled “Before you start”You need a browser (a recent Chrome or Edge: other browsers aren’t tested yet), the address of your organisation’s Paprika editor, and a photo to use as a sample (any JPEG or PNG). If you don’t know the address, ask whoever runs Paprika for your organisation.
Open the editor’s address in your browser. The editor opens on a template, often the sample “Summer studio”; you’ll start a new one.
Make the badge
Section titled “Make the badge”-
Start a new template. Click ⋯ (More actions) in the header and choose New template…. Choose the page size A6 and click Create.
You see one empty page, 105 × 148 mm, in the middle of the canvas.
-
Name it. Click Untitled in the header, type
Conference badgeand press Enter. -
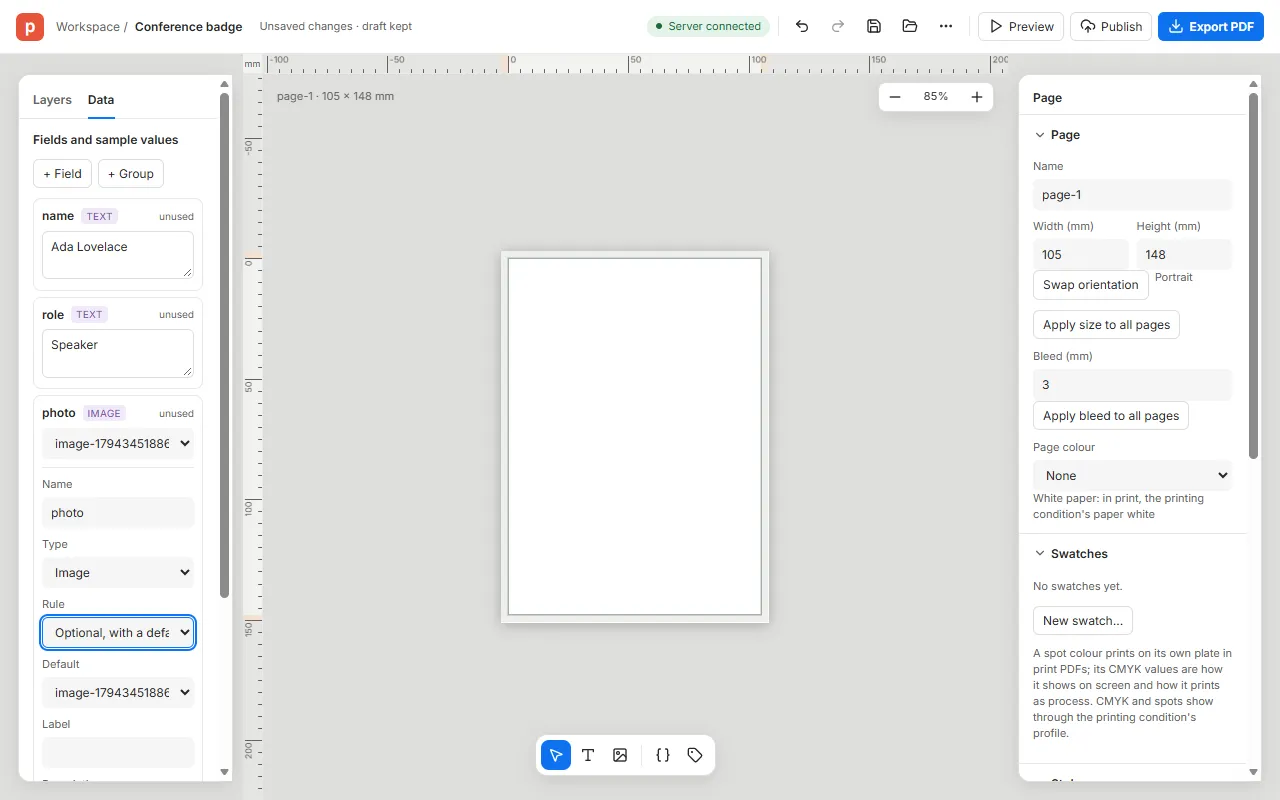
Add the fields. Open the Data tab in the left panel.
- Click + Field and choose Text, type
nameand press Enter. In its sample box, typeAda Lovelace. - Again + Field, Text: type
roleand press Enter. Give it the sampleSpeaker. - + Field, Image: type
photoand press Enter. In its sample menu choose Upload image… and pick your photo. Then set its Rule to Optional, with a default: your photo becomes the photo of every badge that doesn’t bring one.
Each field shows unused for now: no frame shows it yet.
- Click + Field and choose Text, type
-
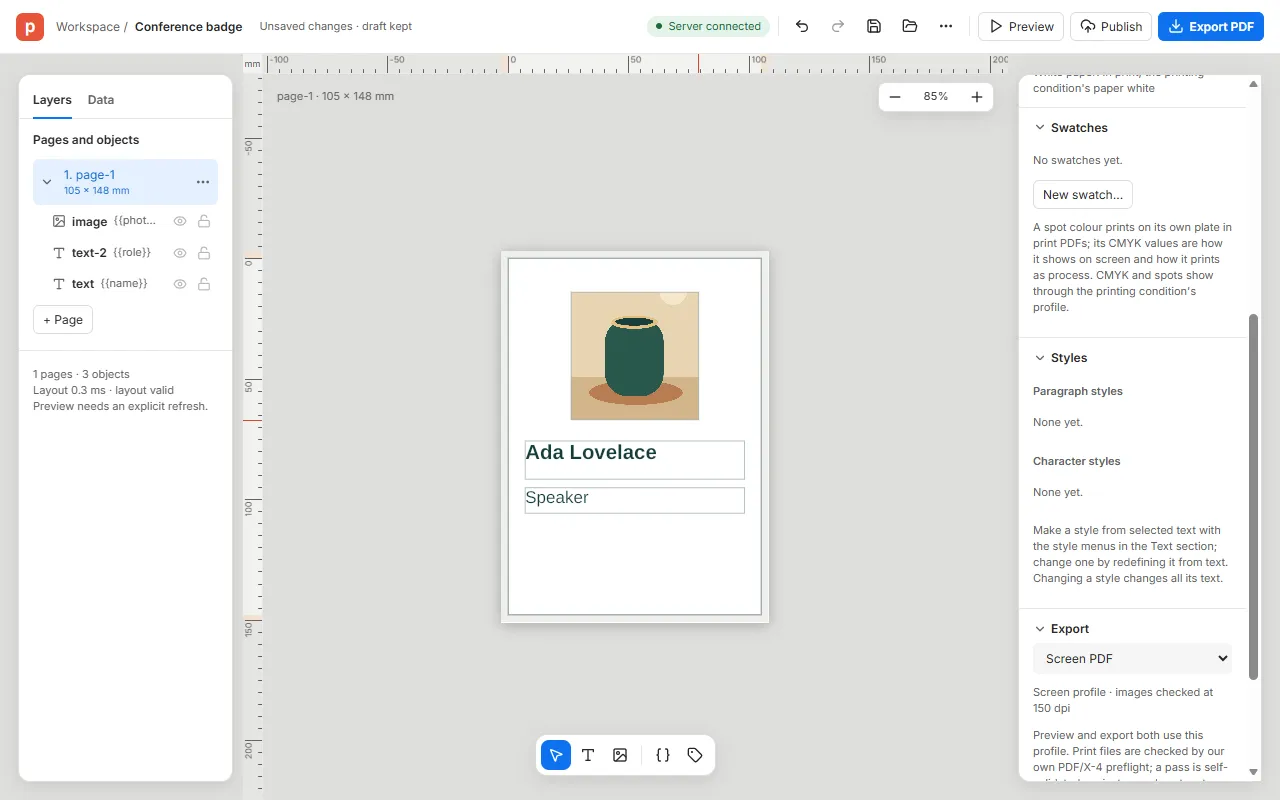
Add the name. Go back to the Layers tab. Choose the Text frame tool (T in the tool strip at the bottom) and drag a box across the page, below the middle. A frame with Your text appears.
Double-click it, press Ctrl+A (⌘A on a Mac) to select Your text and press Delete. In the Text section on the right, choose
{{name}}in Insert field. The frame shows Ada Lovelace, the sample.Press Esc to stop editing, then set Size to
24and click B to make it bold. -
Add the role. Draw another text frame just below the name, and in the same way replace its text with the field
{{role}}. It shows Speaker. -
Add the photo. Choose the Image frame tool and drag a square above the name. In the Image section, choose Field: photo in the Image menu. Your photo appears in the frame.
-
Preview it. Click Preview in the header. The server makes the PDF, exactly as it will make every badge, and shows it. Click Back to editor.
-
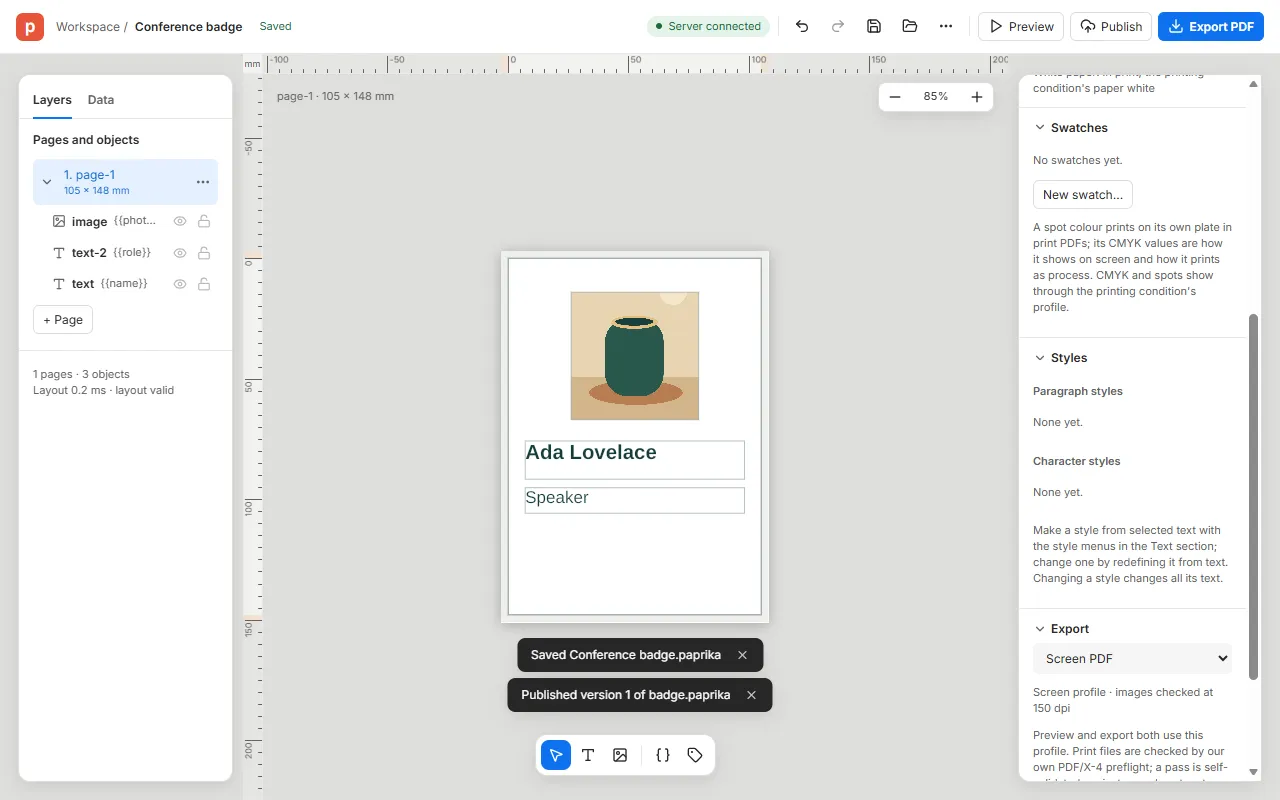
Publish it. Click Publish, choose New template, name it
badge.paprikaand click Publish.The message Published version 1 of badge.paprika appears. The template is now on the server, ready to be rendered with anyone’s name.
What you made
Section titled “What you made”A template with three fields. Whatever values a request gives for name, role and photo, the badge lays itself out the same way. A published version never changes: when you edit the badge and publish again, you make version 2, and requests can name either.
What’s next
Section titled “What’s next”- Render it from the API: make badges for real people.
- Designing templates: text, styles, colour, print and more.